Inserting Implants
Explaining the Insertion Procedure
A woman who has chosen implants needs to know what will happen during insertion. The following description can help explain the procedure to her. Learning to insert and remove implants requires training and practice under direct supervision. Inserting implants usually takes only a few minutes but can sometimes take longer, depending on the skill of the provider. Related complications are rare and also depend on the skill of the provider.
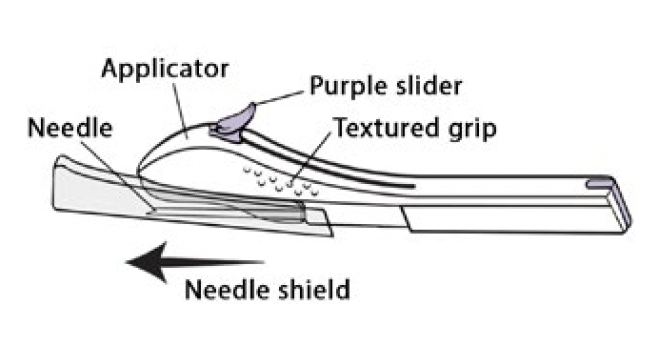
Insertion Procedure for 1-Rod Implants – Implanon NXT (Nexplanon)
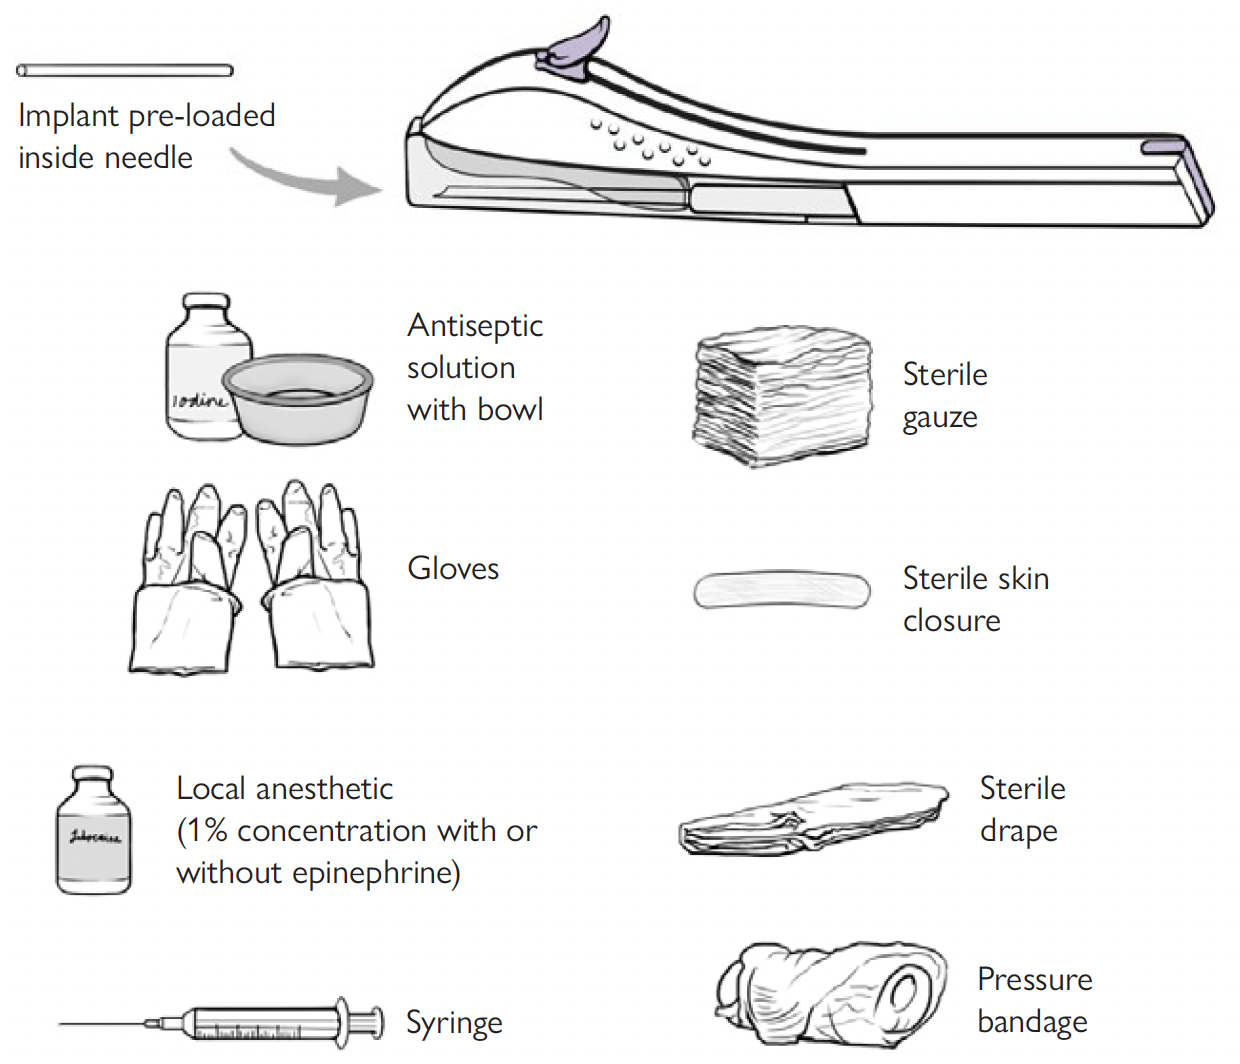
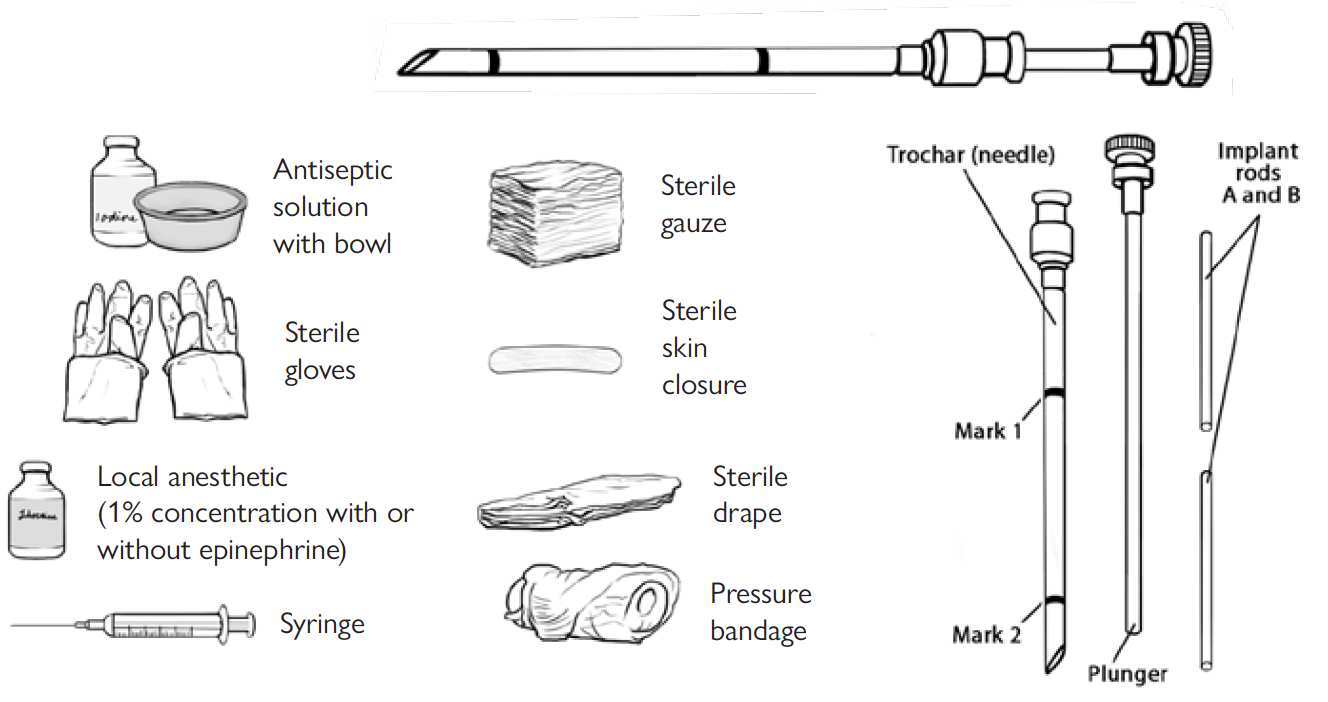
The provider should ensure that the essential equipment, supplies, and the implant itself are available (see below).
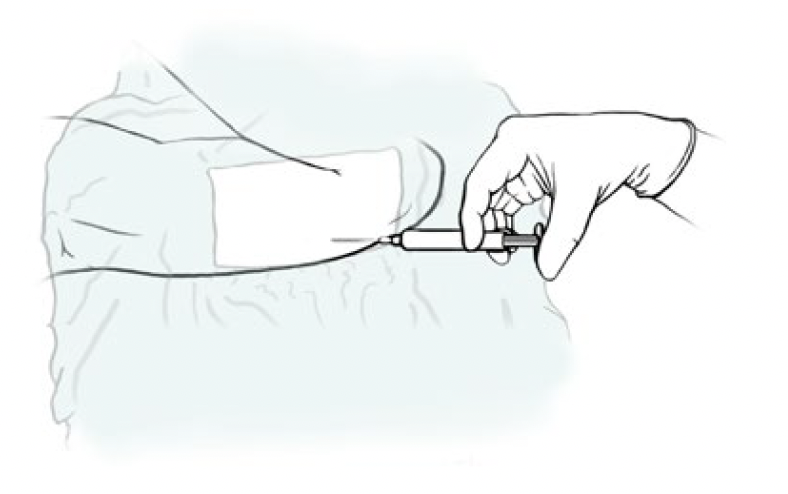
The provider should use proper infection-prevention practices throughout the procedure.
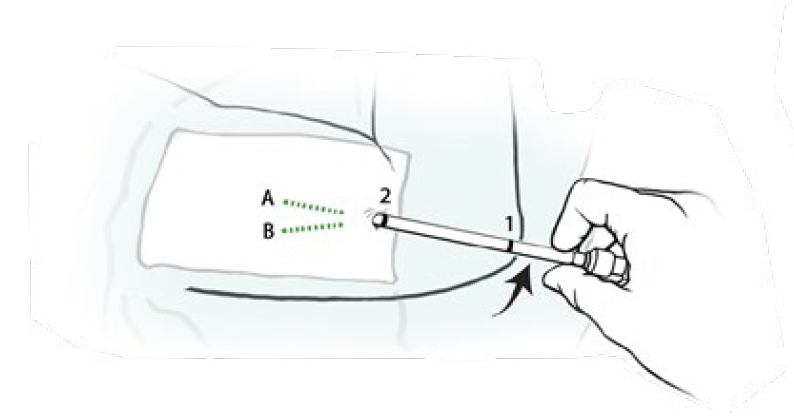
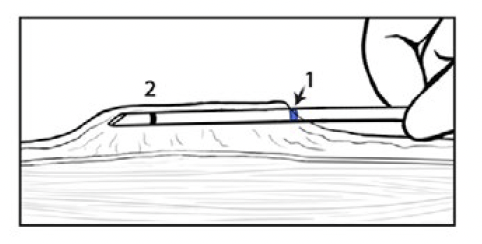
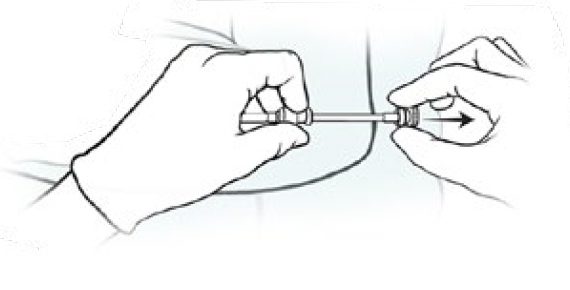
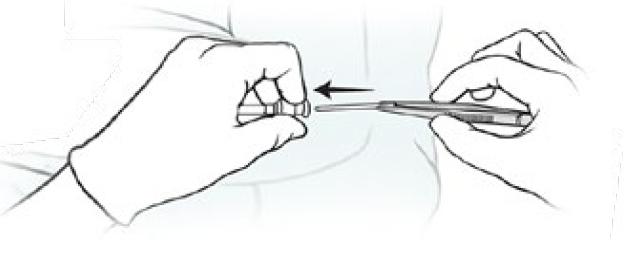
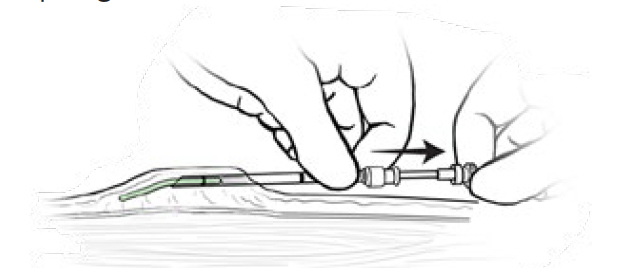
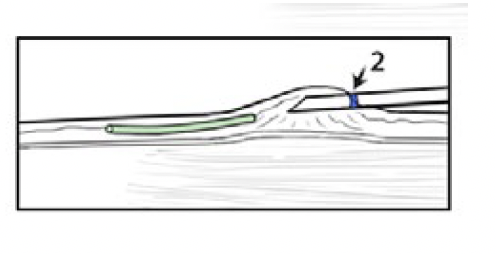
Steps for the Insertion Procedure for 1-Rod Implants |
||
| 1 |
|
 |
| 2 |
|
 |
| 3 |
|
 |
| 4 |
|
hello world |
| 5 |
|
|
| 6 |
|
|
| 7 |
|
 |
| 8 |
|
 |
| 9 |
|
 |
| 10 |
|
 |


Insertion Procedure for 2-Rod Implants – Jadelle and Levoplant
The provider should ensure that the essential equipment, supplies, and the implant itself are available (see below). The provider should use proper infection-prevention practices throughout the procedure.
Steps for the Insertion Procedure for 2-Rod Implants |
||
| 1 |
|
 |
| 2 |
|
 |
| 3 |
|
|
| 4 |
|
|
| 5 |
|
|
| 6 |
|
|
| 7 |
|
|
| 8 |
|
 |
| 9 |
|
|
| 10 |
|
|
| 11 |
|
|

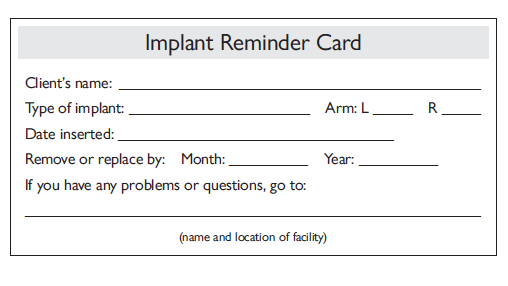
Advice for the Client After Inserting Implants
Give Specific Instructions
| Keep arm dry |
|
| Expect soreness, bruising |
|
| Length of pregnancy protection |
|